Step 3: Add templates
Now that you have added some data models to drive template development, you can start writing templates.
Selection of the boilerplate/channel
Go to the graphical interface (command hpf serve). Click on the Boilerplates tab and select the previously created boilerplate. Click on Edit boilerplate.
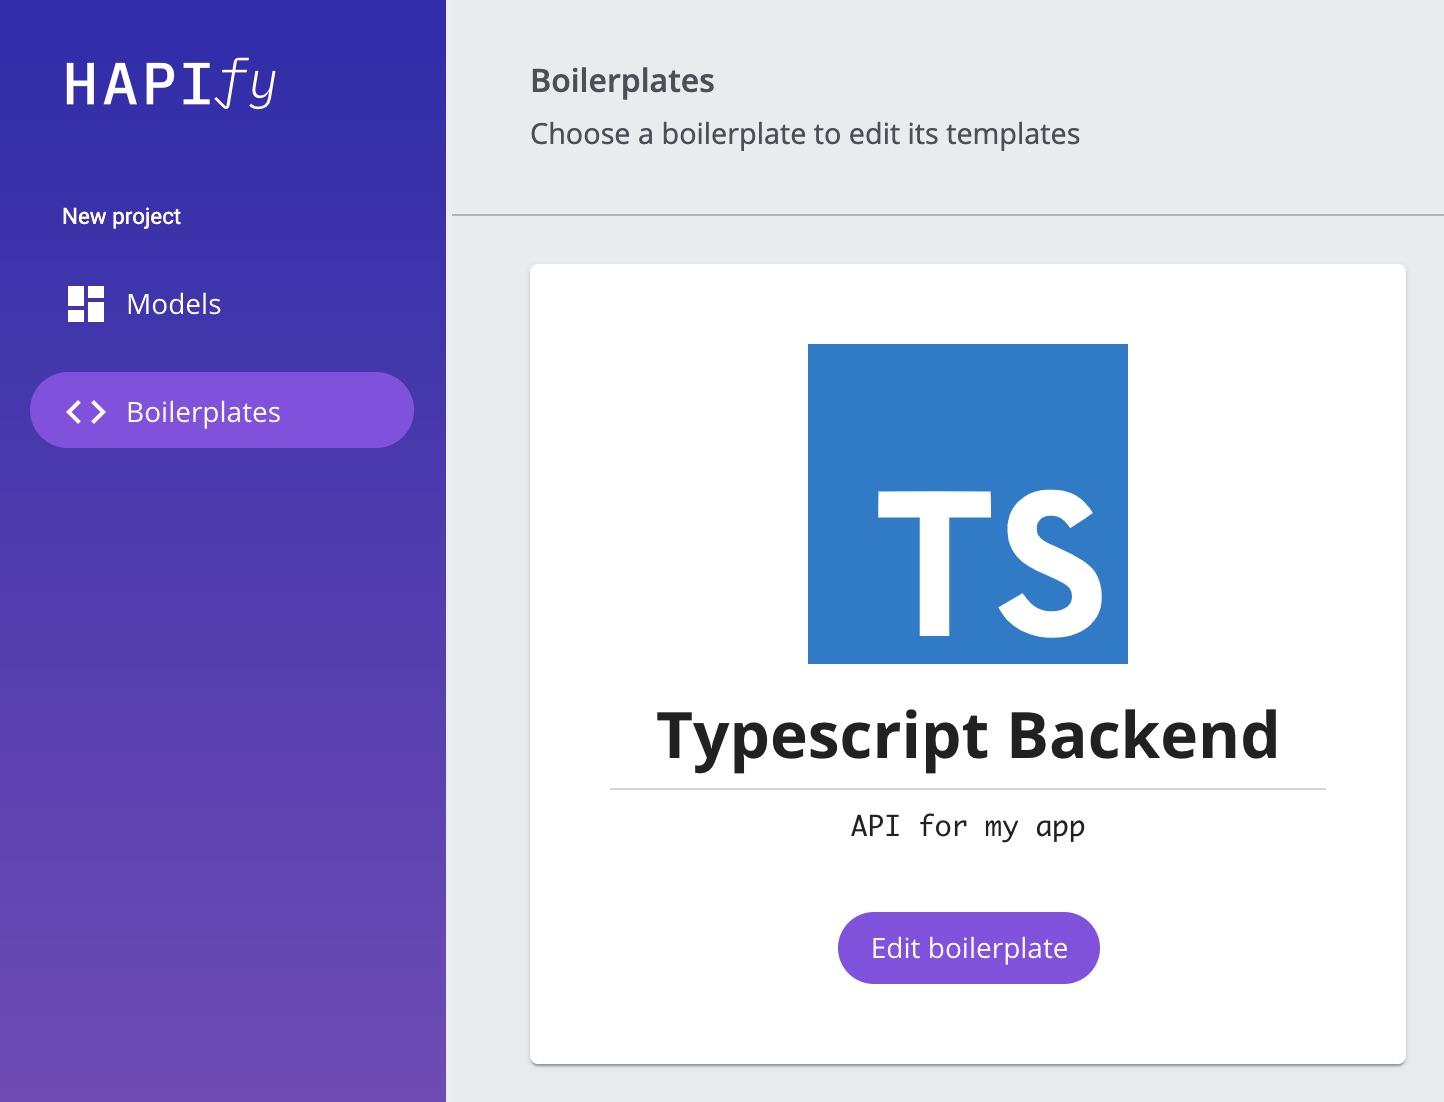
List of templates
You are now on this page:

The left sidebar shows all the templates available in your channel by organizing them in folders. On the right, an overview of the templates available in the folder selected on the left.
Adding a template
Click New path below a folder and enter a file path to create a new template.
Tip
You can add / in the template name to create its parent folders: path/to/template.ts
Dynamic template name
You can create a dynamic template name based on the model name: path/to/{camel}.ts.
If you have three models: user, user profile and listing, then this template will spawn three files: path/to/user.ts, path/to/userProfile.ts and path/to/listing.ts.
The available cases are:
{camel}example :userProfile{pascal}example :UserProfile{lower}example :user profile{capital}example :User Profile{kebab}example :user-profile{header}example :User-Profile{snake}example :user_profile{constant}example :USER_PROFILE{compact}example :userprofile{raw}example :User profile(for the original name)
Warning
Dynamic names only work for templates of type one model.
Change the name of a template
Click on the name in the left part and change it.
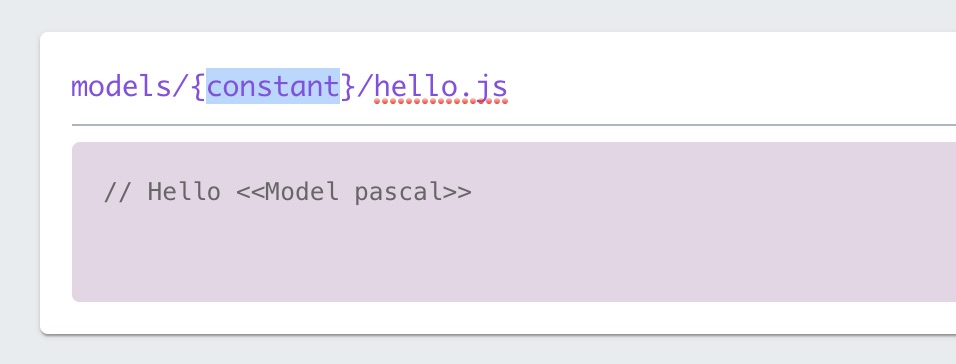
Delete a template
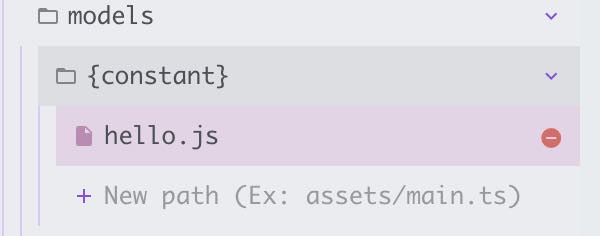
Hover over the name of the template in the left bar and click on the "delete" icon.
Choose the template engine
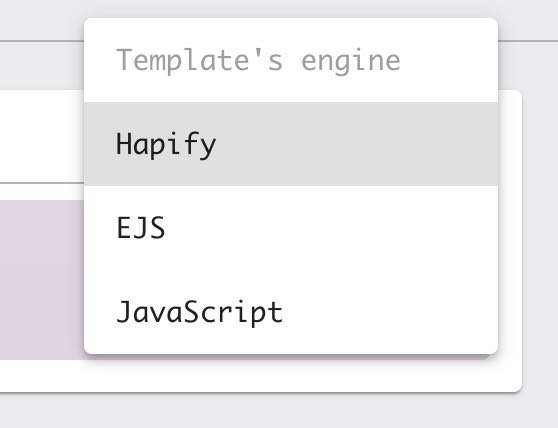
Several template engines are available.
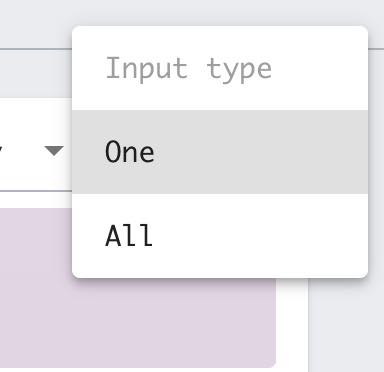
Choose the input type
A template can receive as input one data model or all data models.
During generation, if set to one model, the template will be called once for each data model. Therefore, it will generate one file for each data model.
If it is set as all models, the template will be called once for all data models. It will then produce a single file.
Template Editor
To access the template editor, hover over a template in the list on the right and click on Open editor.

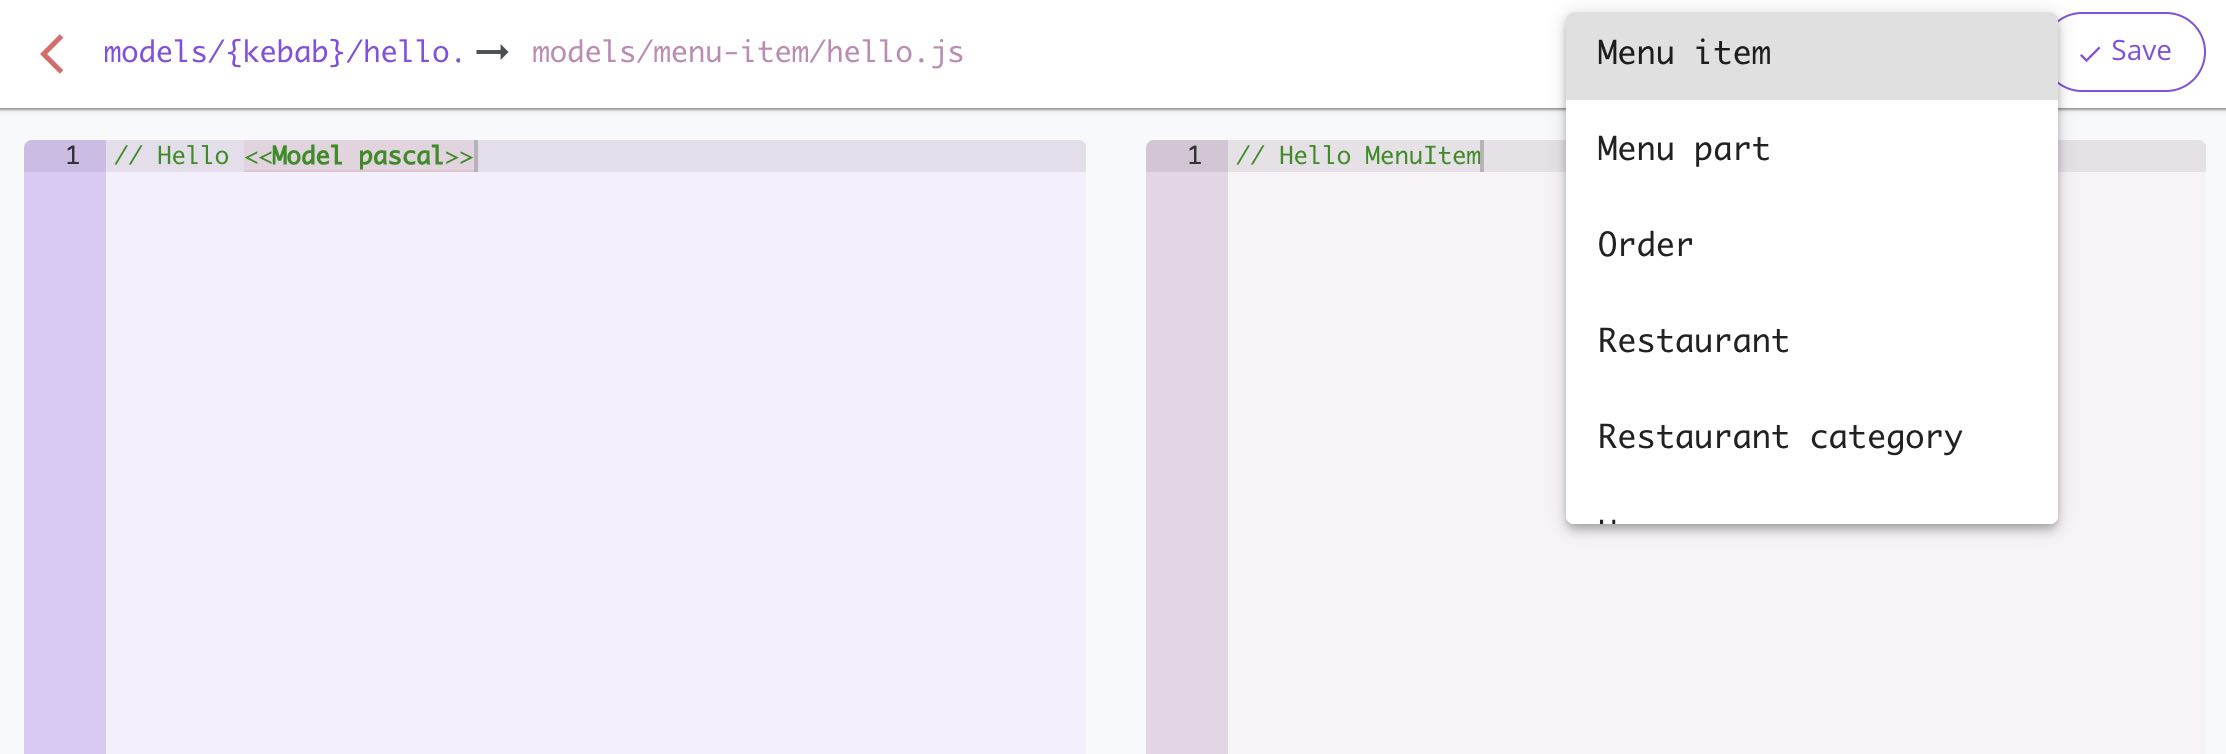
On the left side is the template code, which you can edit. On the right, a preview of the rendering of the template for the selected data model.
Also, in the navigation bar is the path to the template and the path to the generated file.
Tip
You can directly change the template path in the navigation bar.
Tip
It is possible to automatically generate the target files when you save your template by clicking on the hammer icon.
Warning
The selection of data models is only available for templates of type one model.